|
Initializing GAL Synchronization |

  
|
|
|
Initializing GAL Synchronization |
|
|
Add2Exchange Console
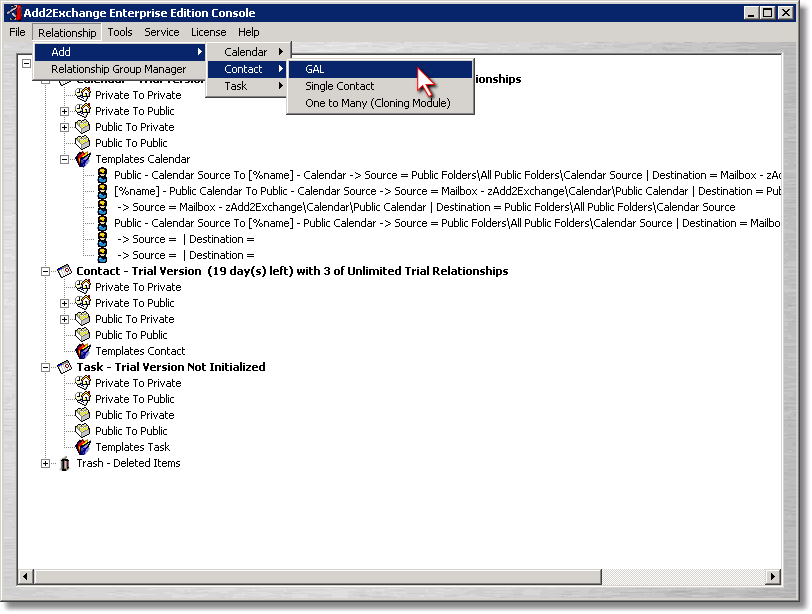
| 1) | From the Add2Exchange console, select Relationship > Add > Contact > GAL. |
GAL Template Dialog
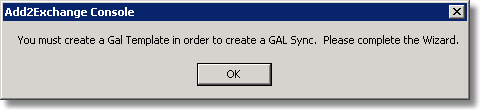
| 2) | Click OK. |
GAL Template Configuration Dialog
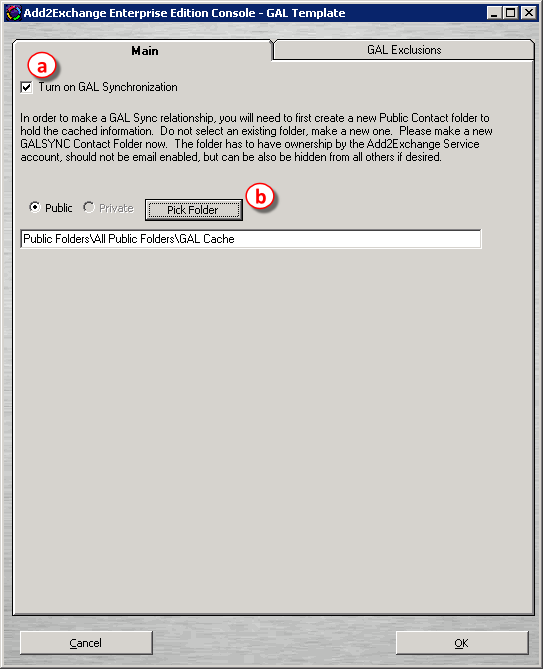
| 3) | Turn on GAL Sync by following these steps: |
| a) | Check the Turn on GAL Synchronization checkbox. |
| b) | Click Pick Folder. |
Public Folder Selection Dialog
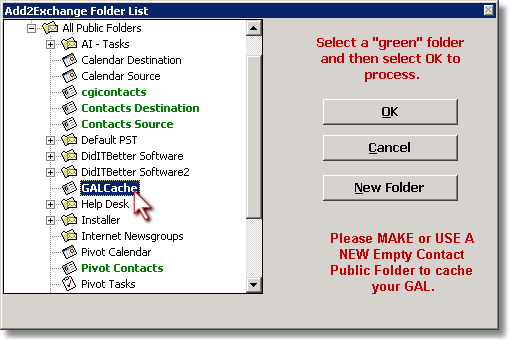
| 4) | Select the GALCache folder you created previously. Click OK. |
| 5) | Back at the GAL Template dialog, click OK. |
GAL Relationship Prompt Dialog
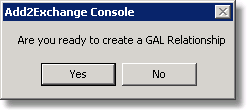
| 6) | Congratulations, you have initialized GAL synchronization! If you are ready to create a GAL synchronization relationship now, click Yes. Otherwise click No. |
Page url: http://guides.diditbetter.com/a2e-guide/initializing_gal_synchronizati.htm