|
Creating a GAL Synchronization Relationship |

  
|
|
|
Creating a GAL Synchronization Relationship |
|
|
Add2Exchange Console
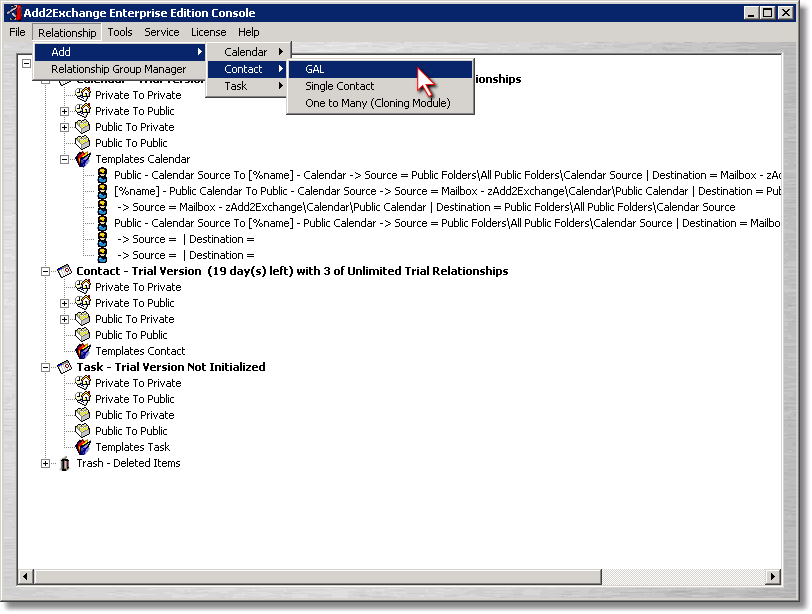
| 1) | From the Add2Exchange console, select Relationship > Add > Contact > GAL. (if you are continuing from the previous section, ignore this step) |
GAL Synchronization Relationship Dialog
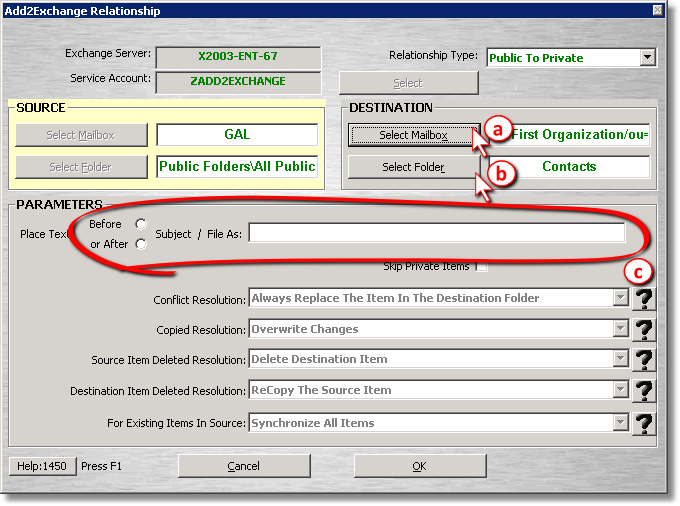
| 2) | Complete the relationship settings: |
| a) | Click Select Mailbox to select the mailbox of the user who will receive the GAL contents. |
| b) | Click Select Folder to select the folder that will receive the GAL contents. |
| c) | If you would like the items from the GAL to be tagged with a specified text tag in the File As field, put it in the Place Text field. |
| 3) | Click OK. |
Congratulations, you've created a GAL synchronization relationship!
blog comments powered by Disqus
Page url: http://guides.diditbetter.com/a2e-guide/creating_a_gal_synchronization.htm