|
Installing Add2Exchange |

  
|
|
|
Installing Add2Exchange |
|
|
| 1. | Log in as the Add2Exchange Service Account. If you were previously logged in as Administrator to prepare for installing Add2Exchange, you may log off that session. |
| 2. | Double-click the Add2Exchange Zip file. |
Add2Exchange Zip File Contents
|
|
| 3. | Double-click the MSI file. |
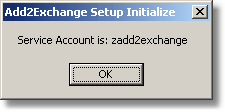
Add2Exchange Setup Wizard
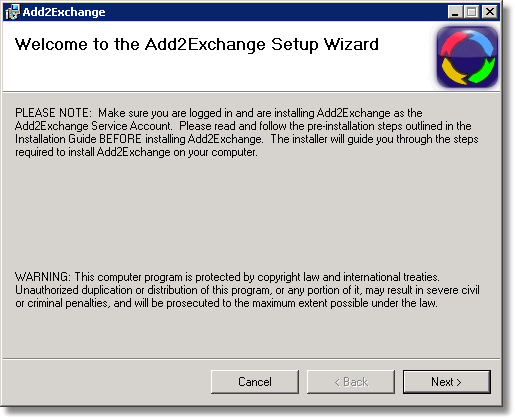
| 4. | Click Next >. |
License Agreement

| 5. | To agree to the license terms, select I agree and click Next >. |
Installation Directory Selection
|
|
| 6. | Verify that the drive on which you are installing Add2Exchange meets the minimum free space requirement outlined in the section System Requirements and Dependencies. If necessary, change the folder specification. |
| 7. | Click Next >. |
Confirmation Dialog
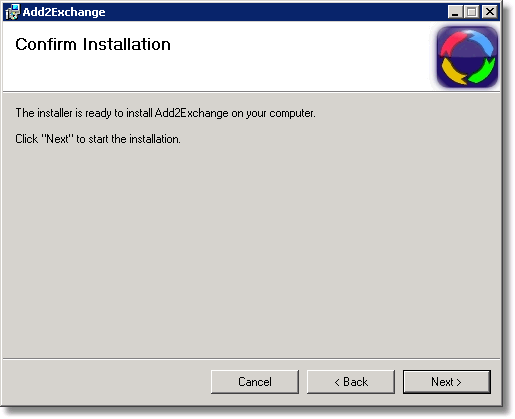
| 8. | Click Next >. |
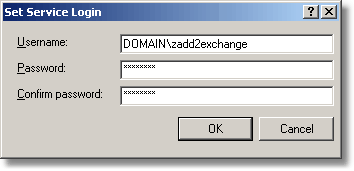
Service Login Password Prompt
|
|
| 9. | Enter the Service Account password twice and click OK. |
Exchange Server Selection Dialog
|
|
| 10. | Select your Exchange Server and click Accept. |
Important: If the Service Account name is administrator, you are installing under the wrong account and Add2Exchange will prevent the install from going further. You must install Add2Exchange under a separate Service Account. |
|
| • | When the installation has completed, click Close to exit. |
This completes the first stage of the installation. Double-click the desktop Console icon:
Console Desktop Icon

SQL Server Express Component Update Dialog
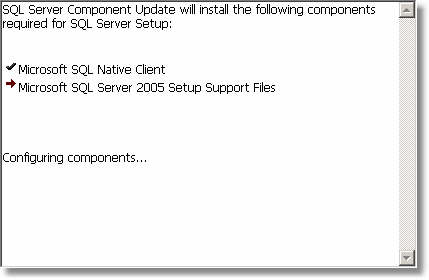
| • | The SQL Server Express installation begins. |
Note: If this is an upgrade from a previous 12.6 installation, the SQL Server Express installation will be skipped. Continue with the instructions at the beginning of the next stage.
SQL Server Express Installation Progress Dialog
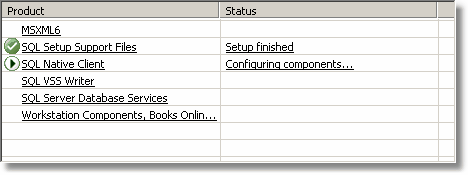
| • | You will see the installation of the various SQL Server Express components progress. This may take several minutes. Please watch this phase because occasionally the install will require a reboot and the screen continues without prompting. It is on this screen that you should monitor progress closely. |
SQL Server Express Installation Completion Dialog
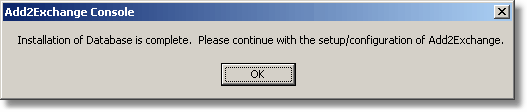
| • | When SQL Server Express has completed installation, you will see the completion dialog. Click OK. |
| • | If you are installing Add2Exchange for the first time, the Console will open and you can begin configuring relationships. Continue to the Add2Exchange Administration Guide. |
| • | If you are upgrading an existing Add2Exchange installation and your existing Add2Exchange data must be migrated to the new Add2Exchange database, Continue with the section The Upgrade Process. |
Congratulations! Add2Exchange has successfully been installed!
blog comments powered by Disqus
Page url: http://guides.diditbetter.com/a2e-guide/installing_add2exchange.htm