|
Creating a Cloned Relationship |

  
|
|
|
Creating a Cloned Relationship |
|
|
|
Add2Exchange Enterprise Cloned relationships have been superseded by Group Relationships in Add2Exchange Enterprise. For details, see the sections Group Relationships, Lists and Templates and Relationship Group Manager. |
For those who have upgraded with cloned relationships from another version of Add2Exchange, cloned relationships still exist and are supported, however you will want to use group relationships moving forward.
To move cloned relationships to group relationships, you simply delete the cloned relationships and build the new group relationship. There is no specific migration path other than that. Be sure to remove destination copies so as to avoid duplication when recreating the relationships.
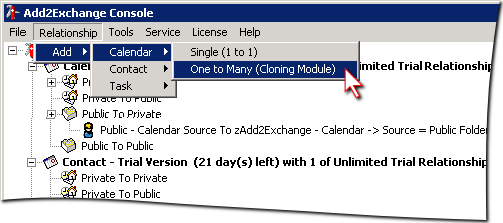
| 1) | Select the menu Relationship > Calendar > One to Many (Cloning Module). |
Relationship Creation Dialog

| 2) | Follow these steps: |
| a) | Pick the type from the Relationship Type dropdown. Consult the following table for details on the relationship types. For our example, we will choose Private-to-Private. |
| b) | Click Select. |
Pivot Folder Dialog

| 3) | Since this is a private-to-private relationship, you need to pick a pivot folder. Select a folder set up for this purpose, then click OK. See the section Create Pivot Folders for details. |
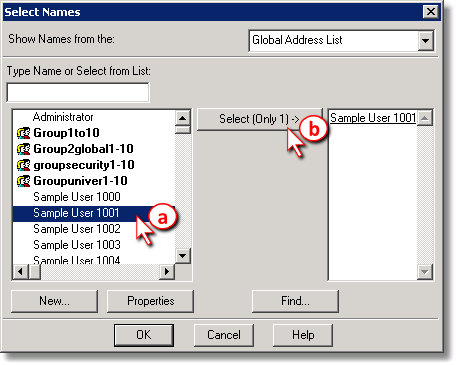
Source Mailbox Selection Dialog

| 4) | Complete these steps: |
| a) | Select the username of the source mailbox from the list on the left. |
| b) | Click Select (Only 1) ->. You may only select one user for the source folder. |
| c) | Click OK. |
Mailbox Folder Selection Dialog

| 5) | Select the source folder for synchronization. For this example, we will choose the default Calendar folder. Click OK. |
Relationship Settings Dialog
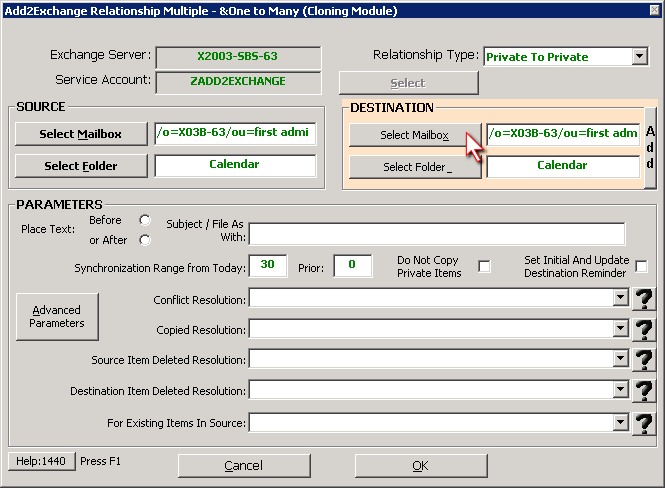
| 6) | Click Select Mailbox on the destination side. |
Destination Mailbox Selection Dialog
| 7) | Complete these steps: |
| a) | Select the username of the destination mailbox from the list on the left. Note that we are not picking the same mailbox as the source in this example. |
| b) | Click Select (Only 1) ->. You may only select one user for the destination folder. |
| c) | Click OK. |
Relationship Settings Dialog

| 8) | Click Add. |
Cloned Relationship Dialog
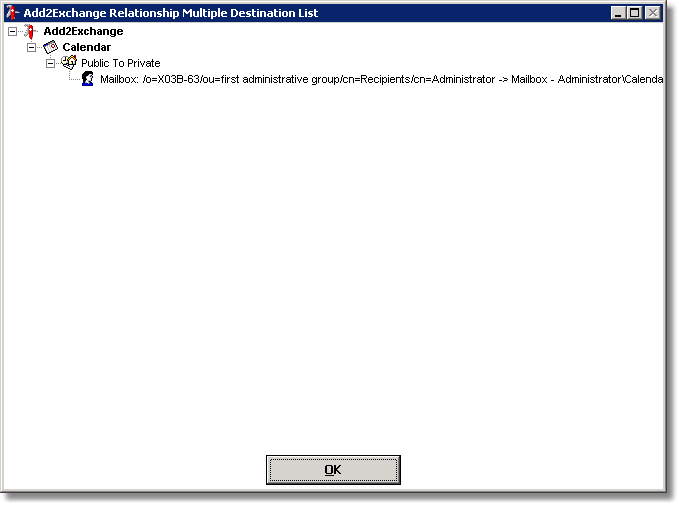
| 9) | The current set of relationships to be built is shown. Click OK. |
| 10) | Repeat steps 6 through 9 until all destinations have been selected. Then click OK on the relationship settings dialog to create the relationships. |
Main Console Window
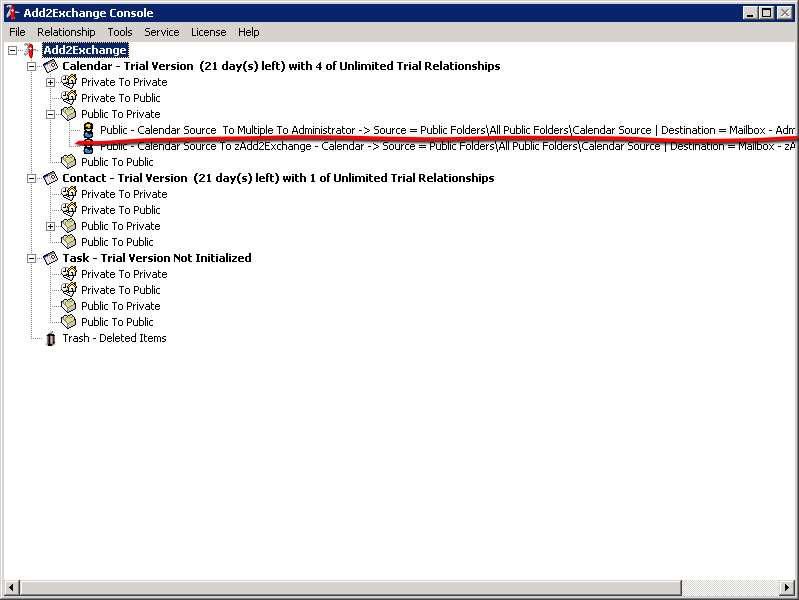
Cloned relationships show up in the main console window as individual relationships and, after creation, are managed individually like other relationships.
blog comments powered by Disqus
Page url: http://guides.diditbetter.com/a2e-guide/creating_a_cloned_relationship.htm
